
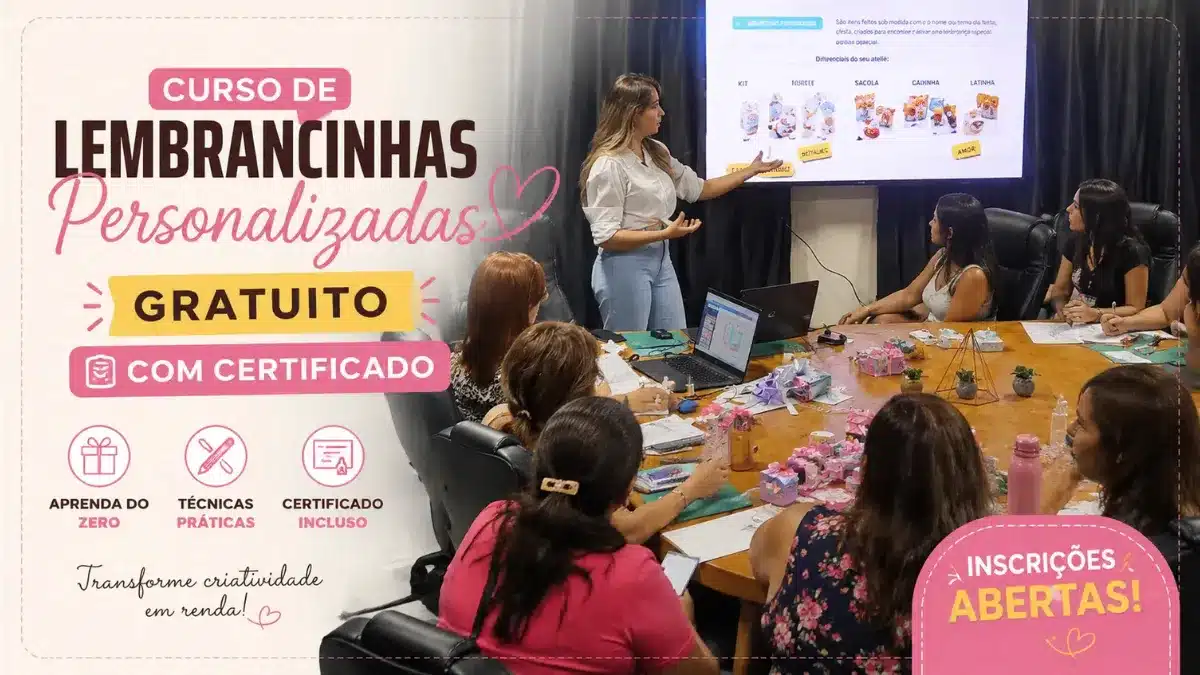
Personalized Party Favors Course: Free and Includes a Certificate!
Quick Summary
What makes this course different? No red tape: You can watch the 4 video lessons at your own pace, right on the page, without having to create an account or set up a password. Certificate included—for real: Certification is included in the final course project, with no hidden fees at the end. Practical Focus: o Personalized Party Favors Course It teaches you how to choose materials, create your first party favor kit from scratch, and even how to price your work so you can start selling right away. For those who are just starting out and don’t want to spend anything, the format I offer here on the Ana Claudia Personalizados blog is, by far, the best free option available online.
Do you want to learn how to make personalized party favors? (also known as Custom Stationery) But you don't know where to start, what materials to buy, how to put it together, and—most importantly—how much to charge so you don't end up working for free?
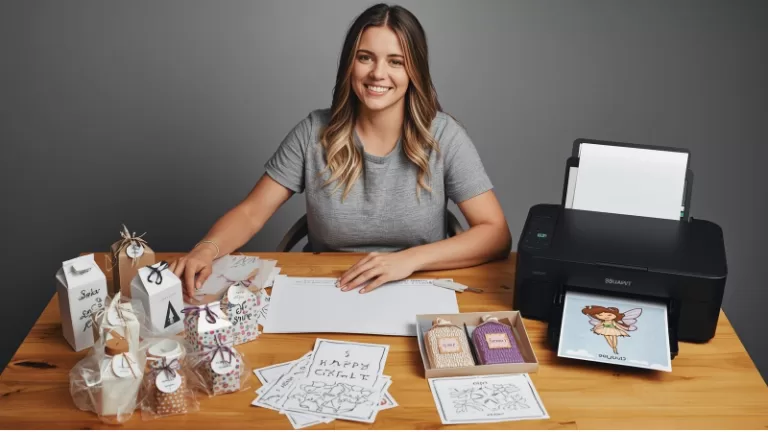
This Free Course on Personalized Party Favors certified, will solve exactly that problem. There are 4 video lessons, taught by me, Ana Claudia, where I’ll walk you through step by step how I create my custom stationery orders, and by the end of these 4 lessons, you’ll have put together your first set of personalized party favors
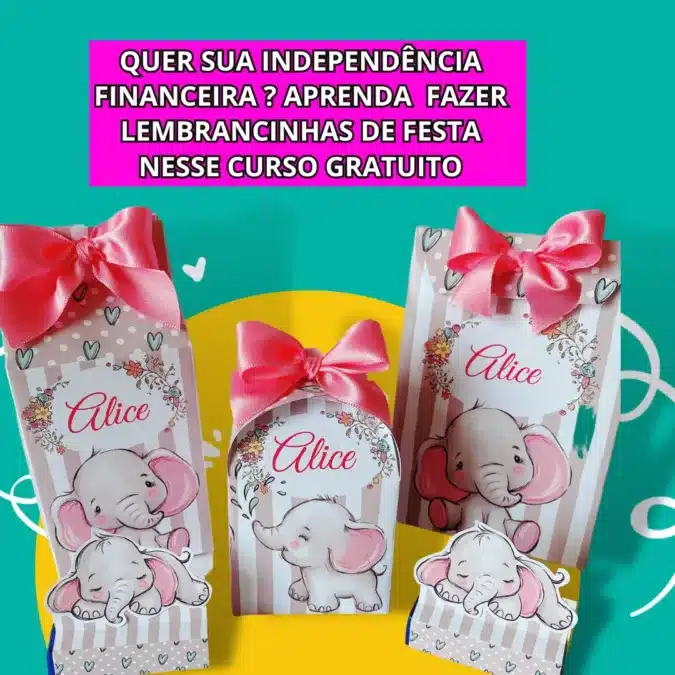
This course is not intended to be a comprehensive solution Rather, it's a first step to help you, as a beginner, get a sense of what to do. It is actually 100% Free, but it requires your commitment, and in the end you'll receive the Course completion certificate.
Let's go to class…
Lesson 1: Portfolio and Materials
Before assembling any product, You need to know what to buy and how to organize your portfolio. In this class, I'llor shows you the essential materials you need to start making personalized party favors professionally, without spending money on things you don't need, and how to structure your portfolio professionally from the very beginning.
Lesson 2: First Items from the Party Favor Kit
In this lesson (DIY – Do It Yourself) I'll teach you How to Make the Treasure Chest and How to Make the "Bis" with a Totem, which are two products that are very popular with customers. (Download the pattern from the link above)
Lesson 3 – Finishing the Goodie Bag
In this (Do-It-Yourself) lesson, I'm going to teach you How to Make the Surprise Box and How to Make the Milk Box and that's how you put together your personalized party favor kit, which can be used for a one-month anniversary or a first birthday.
Lesson 4 – How to Price a Custom Gift Set
In this lesson, you'll learn how I price my personalized party favor kits to maximize my profit.
TO GENERATE YOUR CERTIFICATE, SCROLL TO THE BOTTOM OF THE PAGE AND GENERATE YOUR FREE CERTIFICATE FOR THE PERSONALIZED SOUVENIRS COURSE
How to Create Original Art on Any Theme
Once you know how to put the party favors together, You need to move forward and learn to create original art. Because the mom is going to come in and ask for a design with a Peppa Pig or Circus theme, and you need to know how to create your own designs to meet this customer's needs.
What You Need to Create Original Artwork
To create original artwork, you need three things:
- Clean molds
- Character and background images
- Editing program
Next, you need to learn the techniques for combining backgrounds, characters, and fonts (text) to create artwork that looks beautiful and eye-catching.
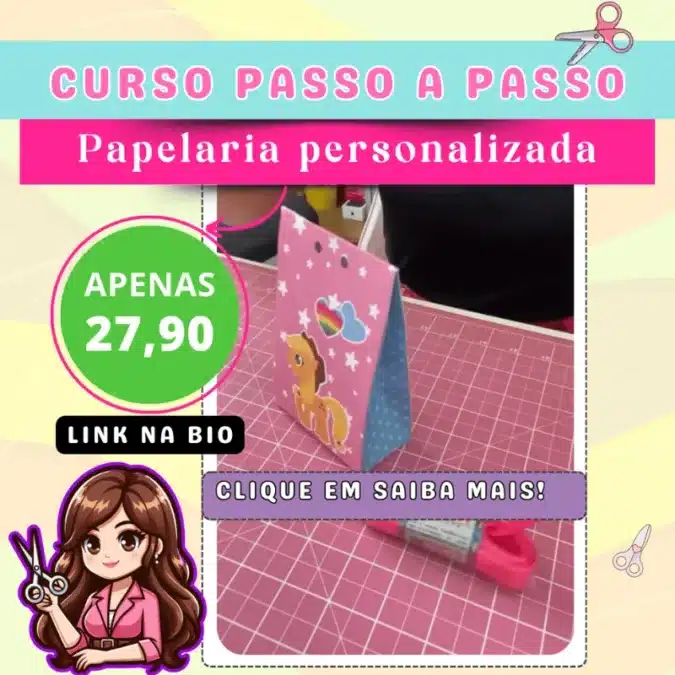
In that sense, to teach anyone to create an original work of art, that's when I created the Festa Criativ Coursea (See the image below). In it, I provide Clean templates—I teach you how to create art on any theme using Canva, and I also provide several ready-made kits on a variety of themes.
Why Create Art on Canva
Because you can do it using just the free version, it has several tools that help with graphic design, such as removing white backgrounds and offering a variety of fonts. And unlike programs like Corel and Silhouette, you can use it on both your computer and your phone. For all these reasons, I recommend you start with Canva.
Supplementary Content
What is a portfolio, and why is it so important?
Many people believe that a portfolio is just a collection of beautiful photos.
In fact, a portfolio is a professional showcase of the products you’ve mastered and can deliver with high quality.
To learn more about how to put together an attractive collection of party favors: Download my Portfolio Guide for free
That's why there's a rule that I consider essential:
Never include a product in your portfolio that you've never made. Using a photo taken from the internet and claiming that you produce that item is a huge risk.
“Before offering any product to a customer, you need to test it, assemble it, validate it, and ensure that you can reproduce it to a high standard.“
Some people complain that testing products wastes paper. I see it differently.
Training isn't an expense. It's an investment!
The cost of a few sheets of paper used for training is infinitely less than the loss caused by a poorly prepared order. Anyone who truly wants to be an entrepreneur needs to develop that mindset from the very beginning.
How to Choose Products from the Portfolio
One of the simplest ways is to search the internet:
- Take note of which products appear frequently.
- See what customers are looking for most.
- Analyze trends.
Here in the challenge, you'll already have access to four of the products most sought after by customers.
But when it comes to custom stationery portfolios, there’s a very common question, which is:
“How many products should I have in my portfolio?”
The answer is simple: There is no ideal amount.
You can start with just one product, but the most important thing is to be excellent at it. There are professionals who work exclusively with cake toppers.
Others sell only personalized candies, and some produce only personalized boxes.
The secret isn't in the quantity. It's in the quality.
What kind of paper should I use for custom orders?
That's one of the questions I get asked most often. So, there are three types of paper that I use most often for my custom stationery orders, which are:
- Photo paper
- Opaline Paper
- Offset Paper
Personally, I prefer glossy photo paper because it brings out the colors and makes the custom designs stand out more.
But to help you decide which role you'll want to play, I recommend reading this post about the 6 Best Papers for Party Favors
Which printer should I use?
You can use Epson or Canon printers with an ink tank system. The important thing is that the printer has refillable ink tanks, as this significantly reduces printing costs.
I wrote a review of the best printers for souvenirs and I'll suggest a few so you can decide which one to use without worrying about making a mistake
Materials Needed for the Free Personalized Party Favors Course
In addition to the printouts, you will need the following materials:
1 – Glue
After extensive testing, I prefer fabric glue. It provides excellent adhesion for custom projects.
2 – Scissors
It can be a regular pair of scissors or even a smaller pair of scissors for finishing touches.
3 – Box cutter
Any simple model is enough to get started.
4 – Hot glue
It will be used primarily for making bows and decorative finishes.
5 – Satin ribbon
A width of approximately 22 mm works very well for the challenge projects.
6 – Banana tape
Great for creating a 3D effect and highlighting elements of custom designs.
2026 Seasonal Sales Calendar for Download
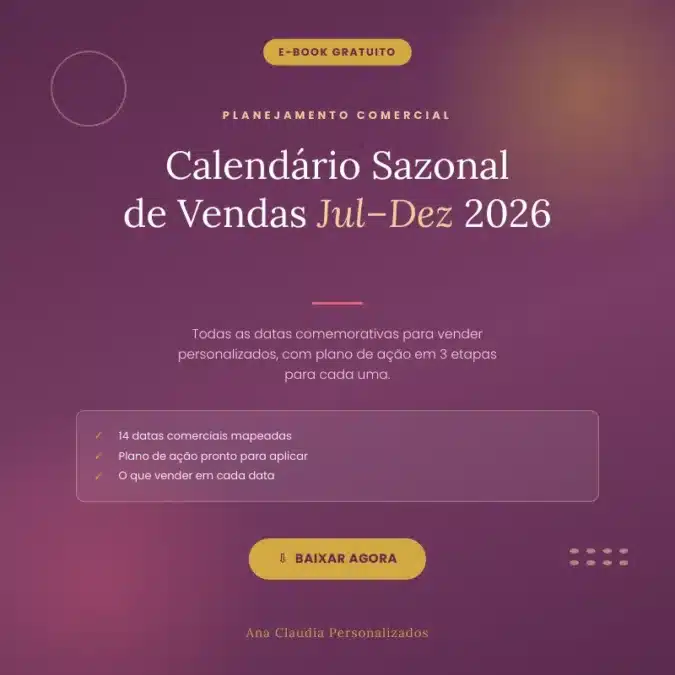
Now that you know what a portfolio is and what materials you'll need to make your first set of personalized party favors, you need to know about All the Ways to Make Money with Custom Stationery





 Portuguese
  English
  Spanish