

Mother's Day souvenirs to make at home
If you're someone who likes to make crafts, you've come to the right place. In this post I'll show you how to make Mother's Day souvenirs easy to make and your mother will love it.
This Mother's Day souvenir can be filled with chocolates, sweets or cookies, and the best part: you can make it using simple materials that you can find in any stationery or party supply store.
Printable Mother's Day souvenirs
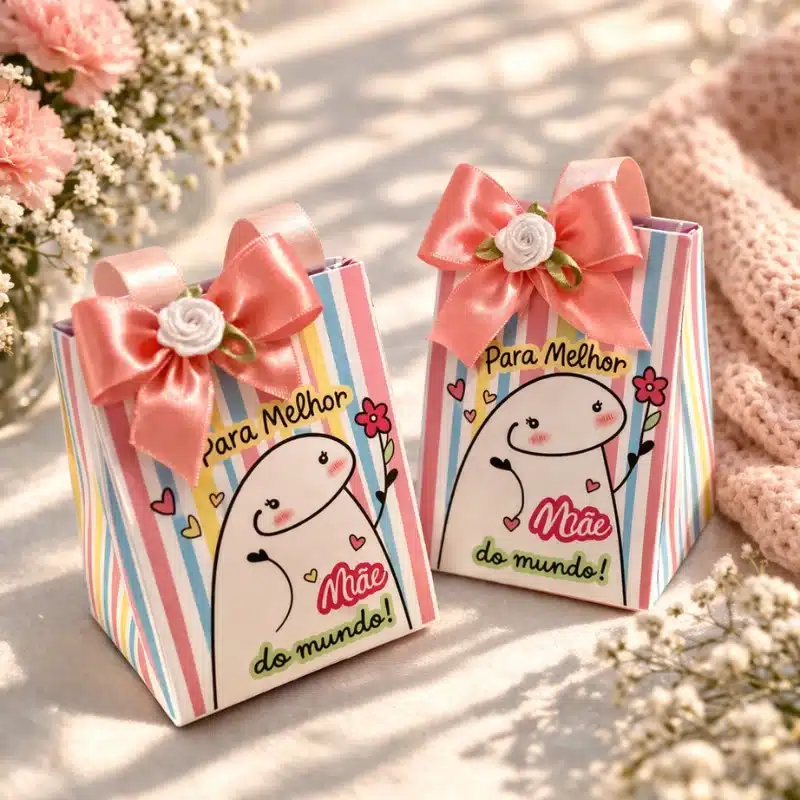
In this article I'm going to teach you how to make this easy-to-make Mother's Day souvenir that you can make in 10 minutes, using the following materials:
Materials for making Mother's Day souvenirs
Start by separating the following materials:
- Photo paper, opaline or offset (weight 180)
- Scissors or stiletto
- Glue (recommended: cloth glue or hot glue)
- Satin ribbon (22 mm wide)
- Bag template (available in the video)
- Optional: adhesive paper or plain paper for finishing
Souvenir cost
Mother's Day souvenirs like this one costs less than R$ 4.99. In other words, a souvenir that can be made to give to several loved ones.
DIY: How to make Mother's Day souvenirs
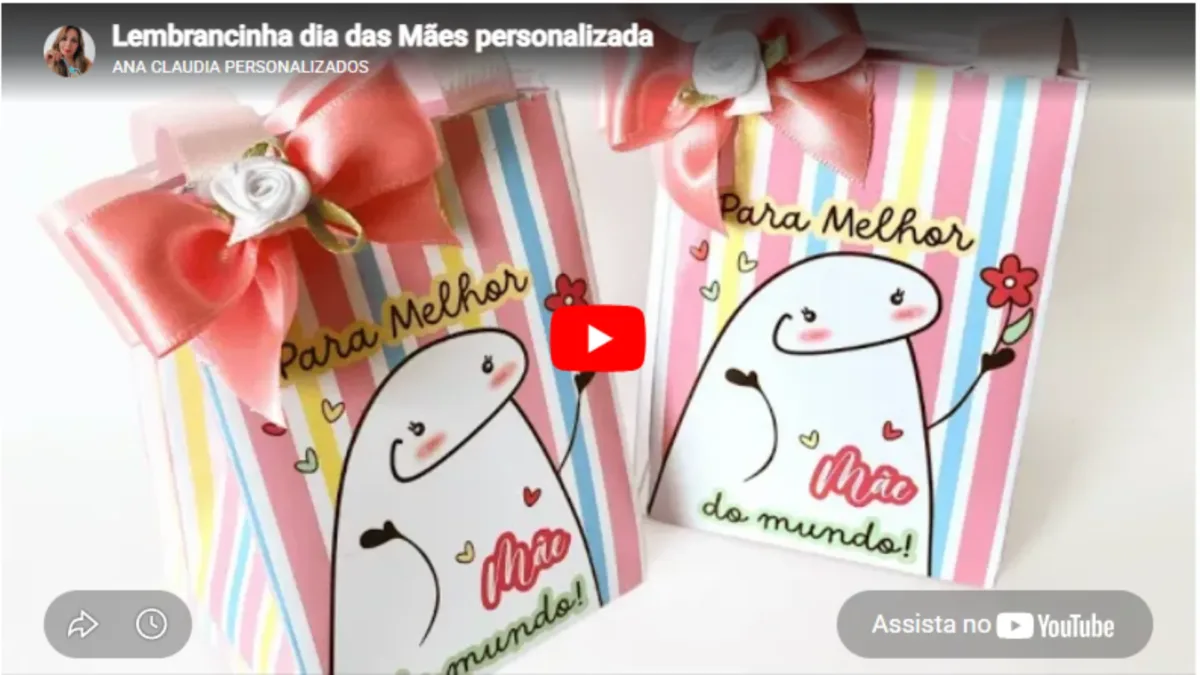
Step by step
1. Cut out the bag
With the template in hand, follow the lines indicated to cut it out.
You don't need a cutting machine, the design is simple and you can do everything by hand.
TipUse a sharp pair of scissors or a stiletto to make it easier.

2. Creasing the folds
After cutting out, it's time to crease all the parts that will be folded.
Creasing is essential to give the bag structure and make it easier to assemble.
- Crease where the flaps and divisions of the base meet.
- Also fold down the flap where the glue will be placed.
- Crease the bottom and the closing flap of the bag.
- Mark the dotted lines carefully - they indicate the most important points for the final closing.
ImportantThere is no need to use a creasing machine. Everything can be done very precisely by hand.

3. Preparing the handle
Before gluing the bag together, you need to make two small cuts along the blue lines indicated on the template.
These cuts will be used to thread the ribbon that will form the handle.
- Use a stylus to cut exactly along the blue lines.
- Run the tape (15 mm wide) from one side to the other.
- Fix the ribbon with hot glue to make it firmer.
- To finish, glue circles of paper over the holes, hiding the ribbon and making the piece more beautiful.
4. Final assembly
Now let's paste it:
- Glue the side flap and close the bag firmly.
- Glue the sides of the base together to form the bottom.
- Press well with your fingers on the inside, making sure everything is secure.
Finally, put the sweets or other treats inside the bag and close it with the top flap, which fits perfectly on the front.
Conclusion
Your bag is ready!
It's charming, practical and can be personalized in various ways. As well as being a creative gift, it's also great for those who want to sell personalized souvenirs for Mother's Day. Assemble kits, combine with other pieces and offer in baskets - the result is enchanting!
About the author





 Portuguese
  English
  Spanish