
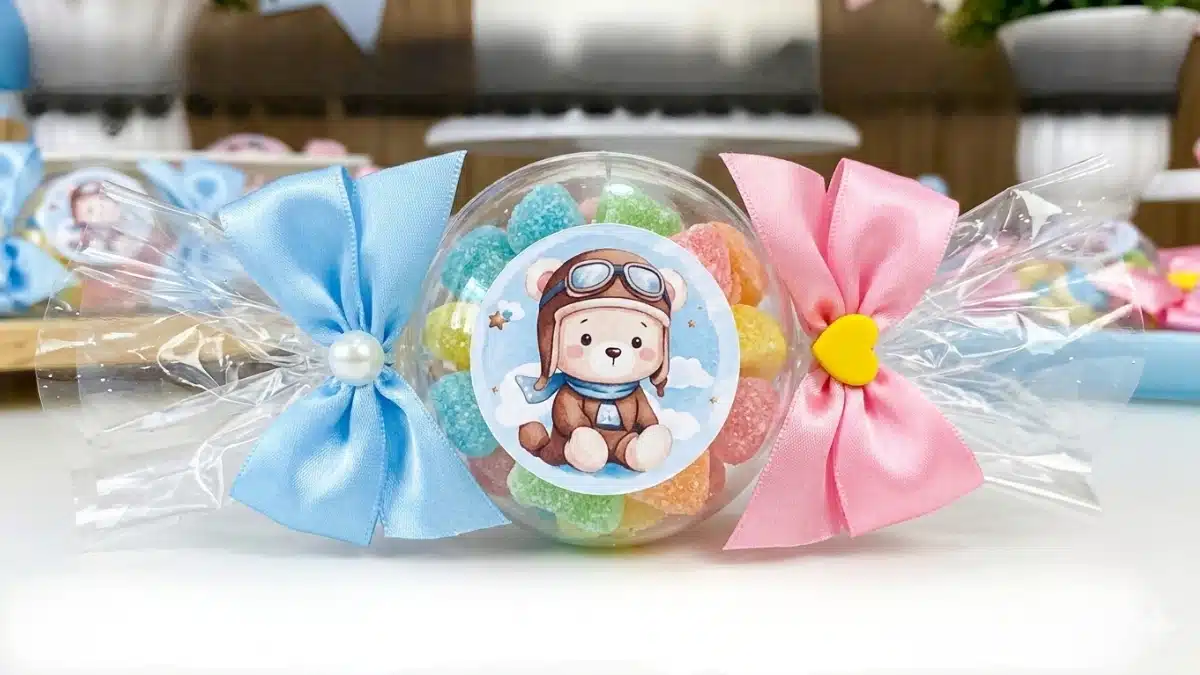
Make simple and inexpensive Revelation Party Favors with these 4 steps
Simple and Inexpensive Party Favors for a Gender Reveal Party
Organizing a special event doesn't have to cost a fortune, and the secret lies in creating Simple and inexpensive party favors in “do-it-yourself”.
If you're looking for an option that combines affordability with a charming look, this model of “giant candy” made with acrylic ball It's the perfect choice to surprise your guests without breaking the bank and to throw a simple yet very creative gender reveal party.
See also:
How many party favors should I make for 100 guests?
How many kilos of cake should I make for 100 guests?
Learning to Make Simple and Inexpensive Party Favors
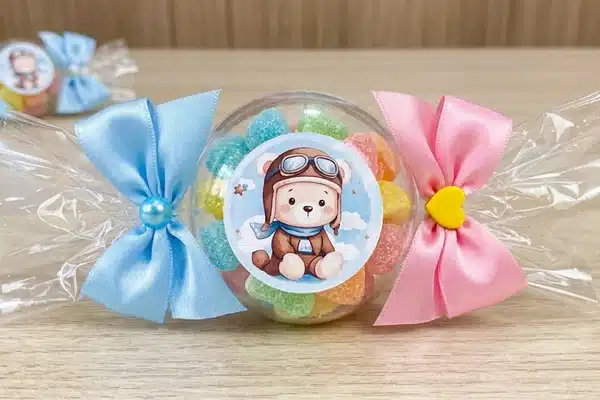
List of Materials for a Gender Reveal Party Favor
To make this party favor, you'll need items that are easy to find at party supply stores:
- Acrylic ball, 7 cm in diameter: They serve as the main framework of memory. (Where to buy)
- Candy (Jujubes): Use colors that reflect the theme to decorate the interior.
- Cellophane Paper: Essential for giving it a glossy finish and a bonbon shape.
- Satin Ribbons: You'll use the one from 10 mm for tying and the one for 22 mm to create voluminous loops.
- Durex Tape and Hot Glue: To make sure everything is firmly secured.
- Custom Tags: Use paper decals featuring teddy bears or the baby's name.

How to Create Custom Tags
The best way to create custom tags is by using Canva. But if you want to learn how to create personalized tags and party favors in just 5 days, check out the CREATIVE PARTY, my "Party Favors for Beginners" course
Detailed Step-by-Step Guide
1. Preparing the Filling
Open your acrylic ball and fill one half with the colorful jelly beans. Close the ball firmly until you hear it click into place, making sure the candies don't spill out when you handle it.
2. The Wrapping Technique
Cut a rectangle of cellophane and place the ball in the center. Wrap the ball tightly and use small pieces of tape to secure the cellophane at the sides, keeping it taut. Leave plenty of paper hanging over the ends to create the visual effect of a candy.
3. Rigging and Structure
Using the thinner satin ribbon (10 mm), tie a knot at each end of the cellophane, right up against the acrylic ball. This sets the shape and prevents the sphere from shifting inside the paper.
4. Finishing Touches and Final Charm
Now it's time to decorate! Make some pretty bows with the 22 mm ribbon and glue them over the side knots using hot glue. To finish, apply the custom design (such as a teddy bear) right in the center of the ball. This stationery detail is what transforms a simple item into a professional, themed party favor.
Golden Tip: You can vary the filling by using marshmallows or chocolate sprinkles to create different textures inside the clear sphere!
(DIY) How to Make Simple and Inexpensive Party Favors: A Practical Guide
Conclusion
Create Simple and Inexpensive Party Favors for a Gender Reveal Party It proves that creativity can overcome even the largest budget.
By using readily available materials such as acrylic ball, jujubes e ribbons and scissors, you can give a treat that is both decorative and delicious.
What really sets this project apart is the finish:
- The strategic use of satin ribbons Available in different lengths (10 mm and 22 mm), it ensures a voluminous, professional look.
- The application of themed wall sconces (like the teddy bears shown in the video) ties the keepsake directly to your party's visual identity.
Getting Down to Business With this step-by-step guide, you'll save on production costs and add a touch of handmade charm that your guests are sure to notice. Remember that the secret is to keep the cellophane tightly stretched and to tie the side bows neatly to ensure the perfect “giant candy” shape.
Want to work professionally with party favors? Read this article where I explain How to Get Started with Custom Stationery
In my YouTube channel You'll find more ideas for simple, inexpensive party favors you can make yourself. Just search for Ana Claudia Personalized.
Author




 Portuguese
  English
  Spanish